
Record List Management
name: "Record List Management" slug: "record-list-management" category: "01_Getting_Started" section: "Core Concepts" version: "1.0.0" sort_order: 1 description: "Get started with Record List Management in under 5 minutes. Learn how to navigate your workspace and manage features." seo_title: "Record List Management | Valstorm Docs" seo_description: "Get started with Record List Management in under 5 minutes. Learn how to navigate your workspace and manage features." is_published: true is_public: true icon: "Rocket" published_date: "2026-09-16T14:03:35.327Z" modified_date: "2026-09-16T14:03:35.327Z" guide_id: "gui_mtjfcvfq9HhJvLKO"
Record List Management
Step-by-Step Guide
1. Manage your Database
Let's explore the records section. This is where you can work with structured data for all kinds of purposes like CRM, Project Management, and more.
Click "Next" to get started
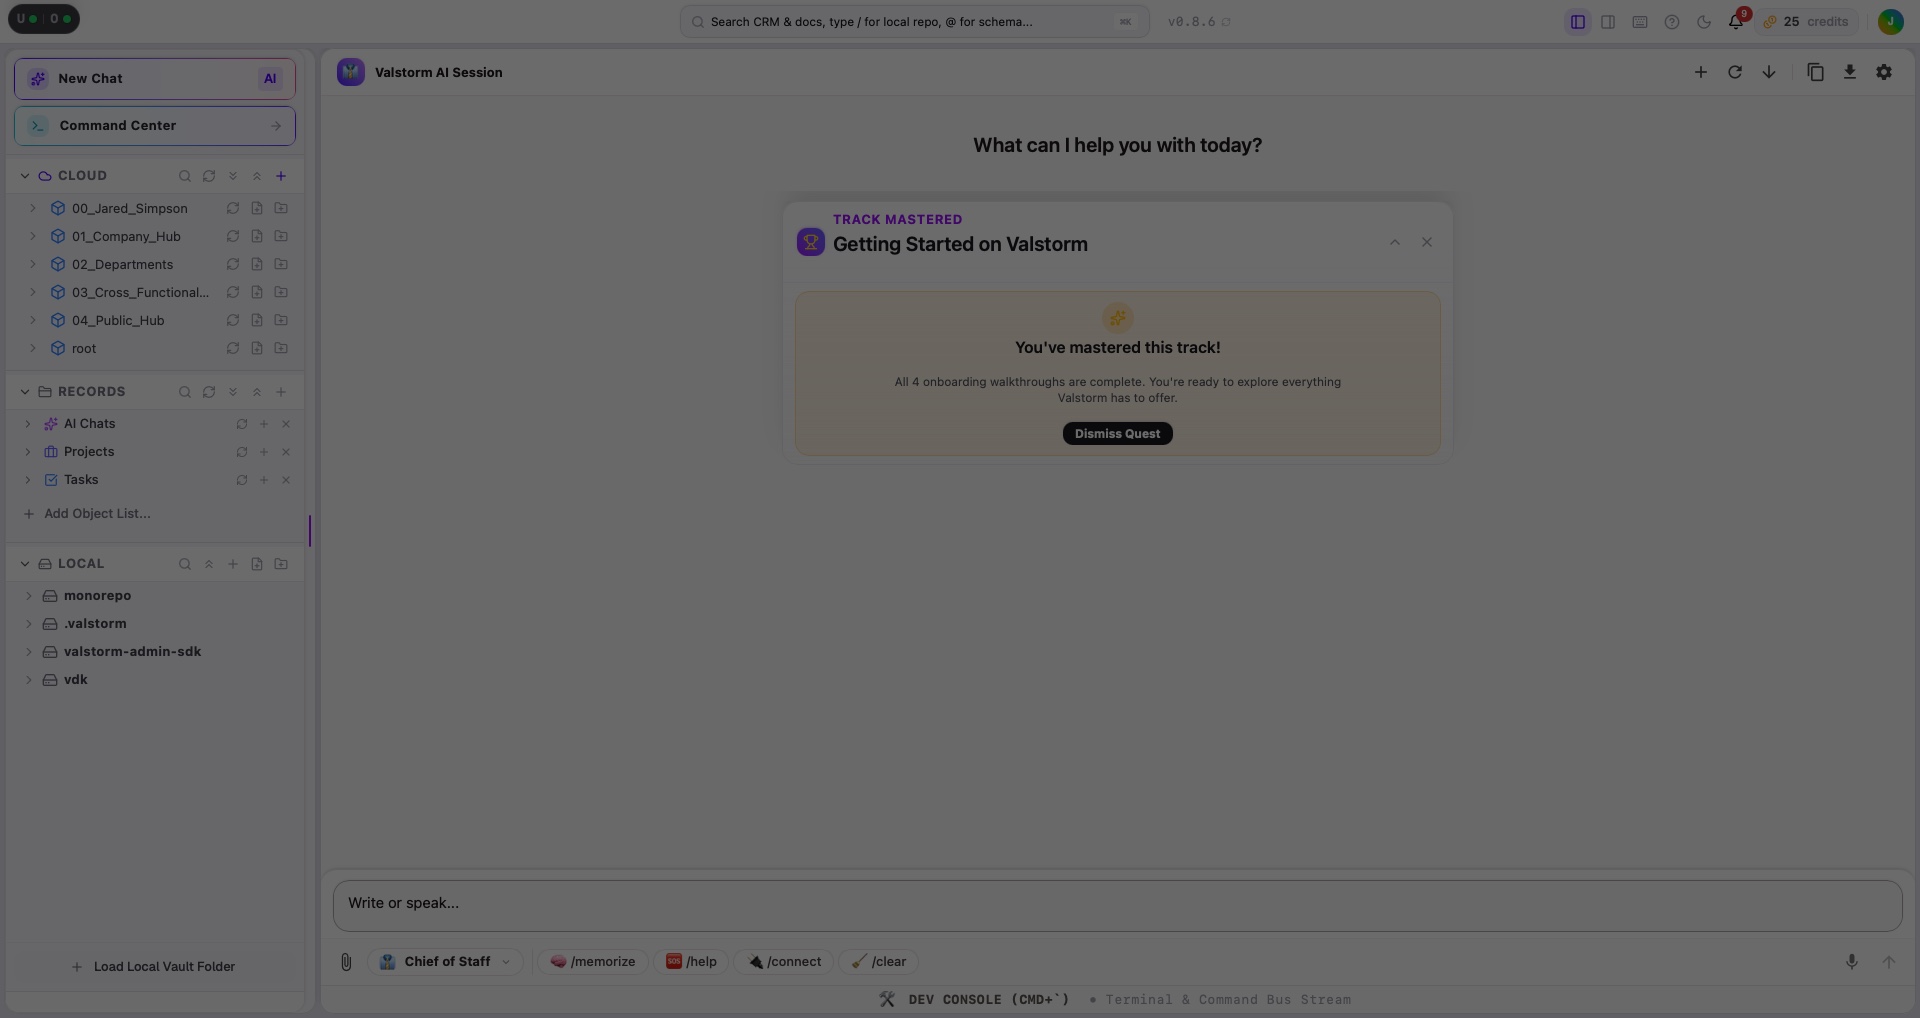
2. Click Add Object List...
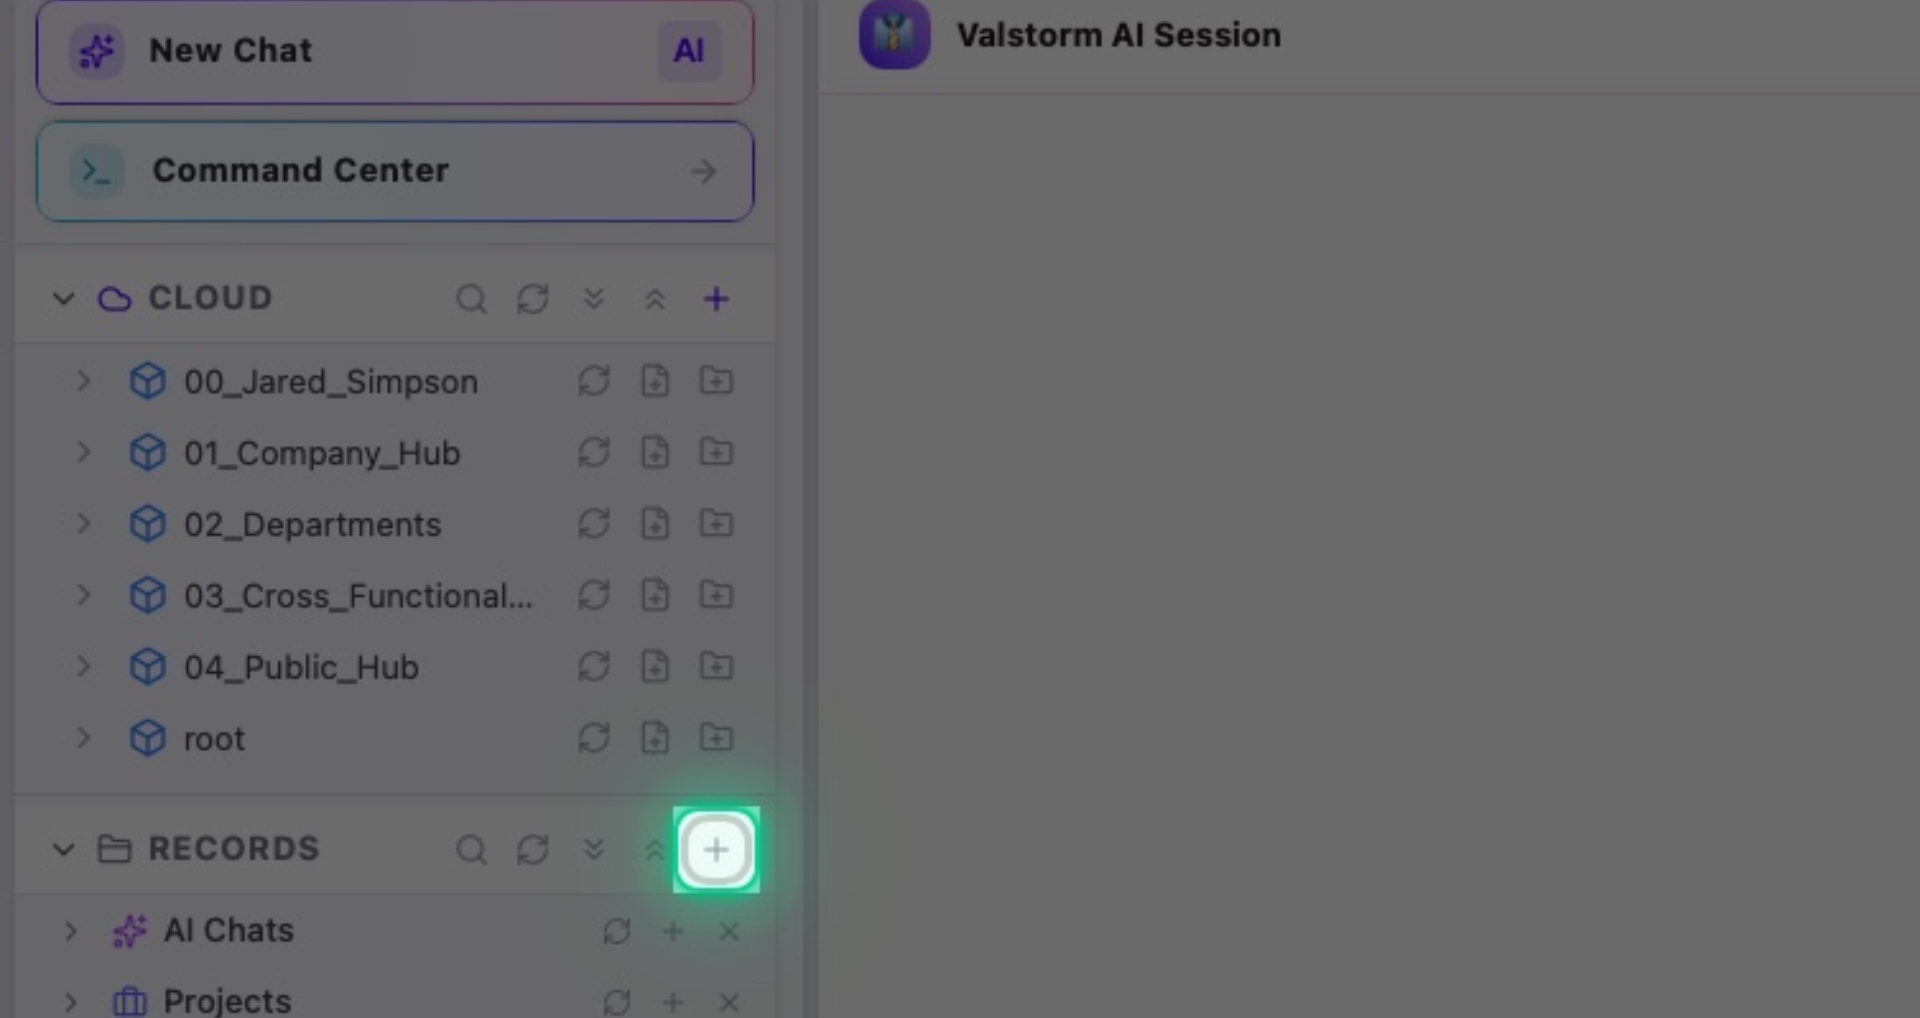
Interactive Target:
#left-nav-records-add-list-header-btn
3. Picking Objects
You can search by scrolling or typing to add objects to track.
Click "Next" to Proceed
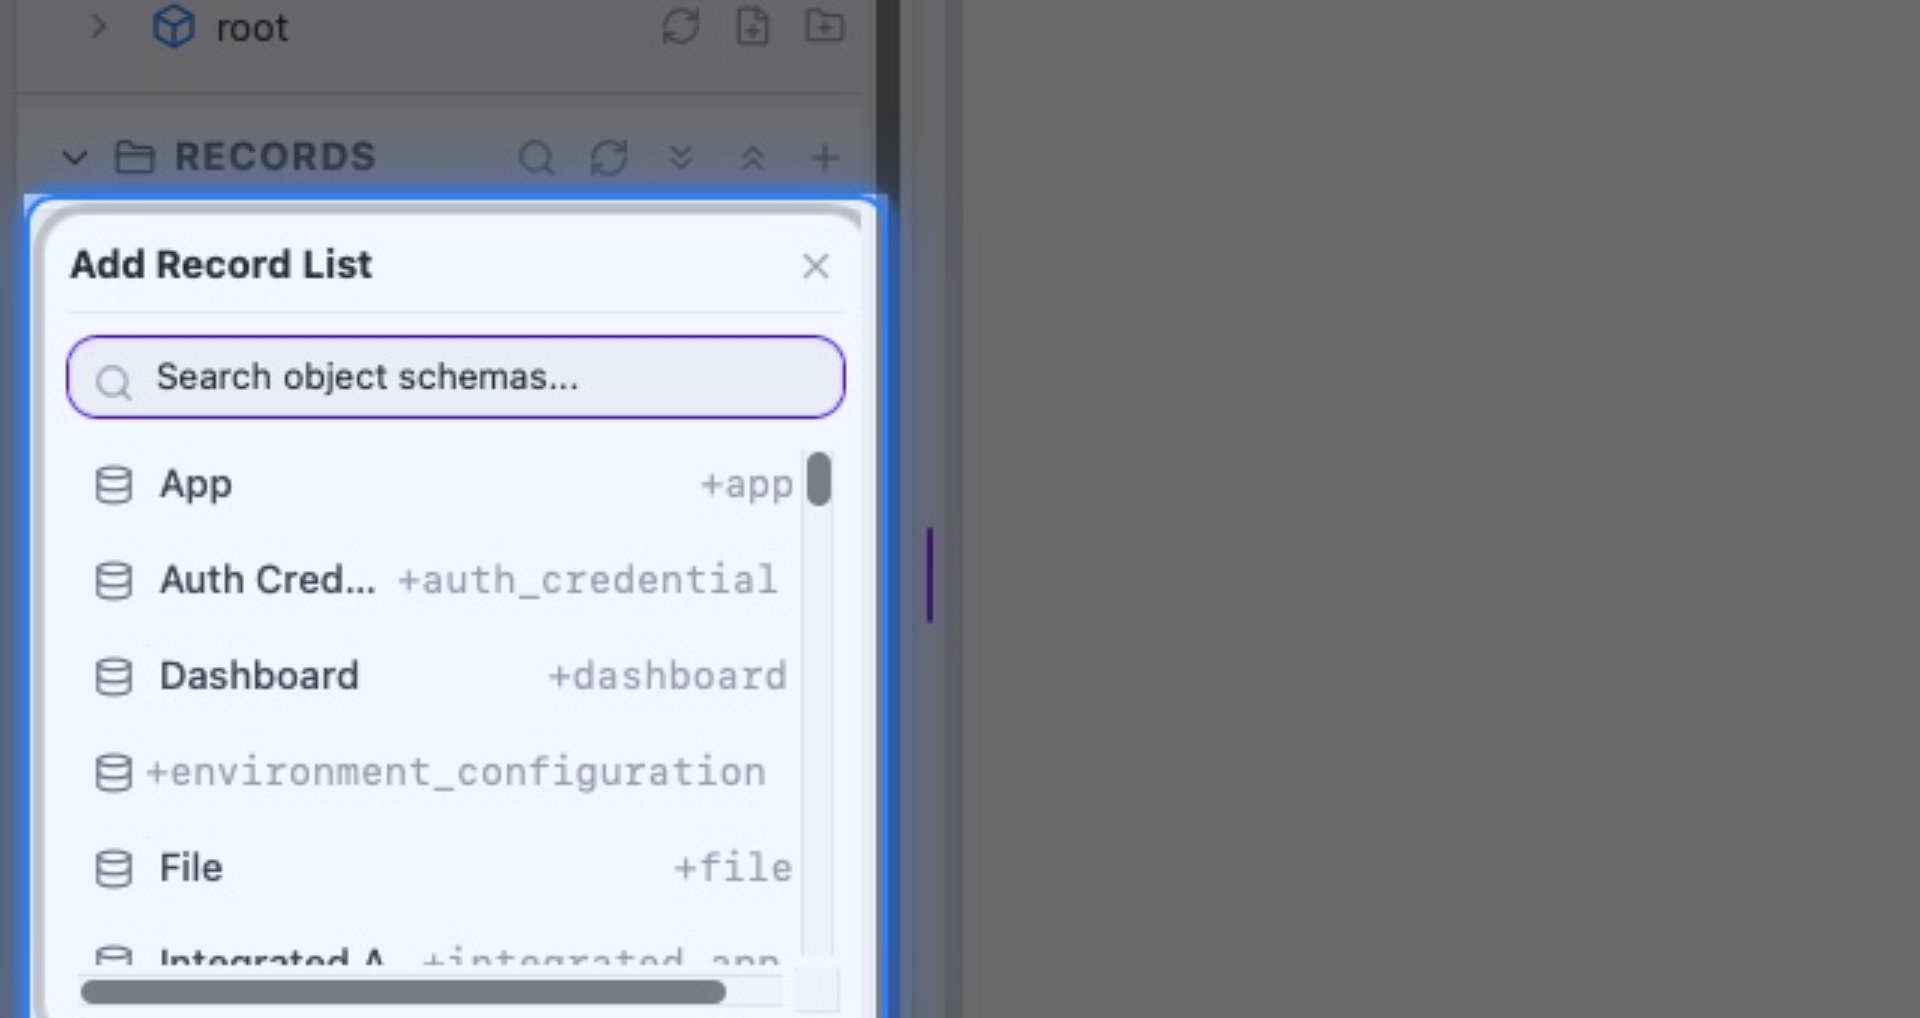
Interactive Target:
#left-nav-records-add-list-popover
4. Click Ai Agent
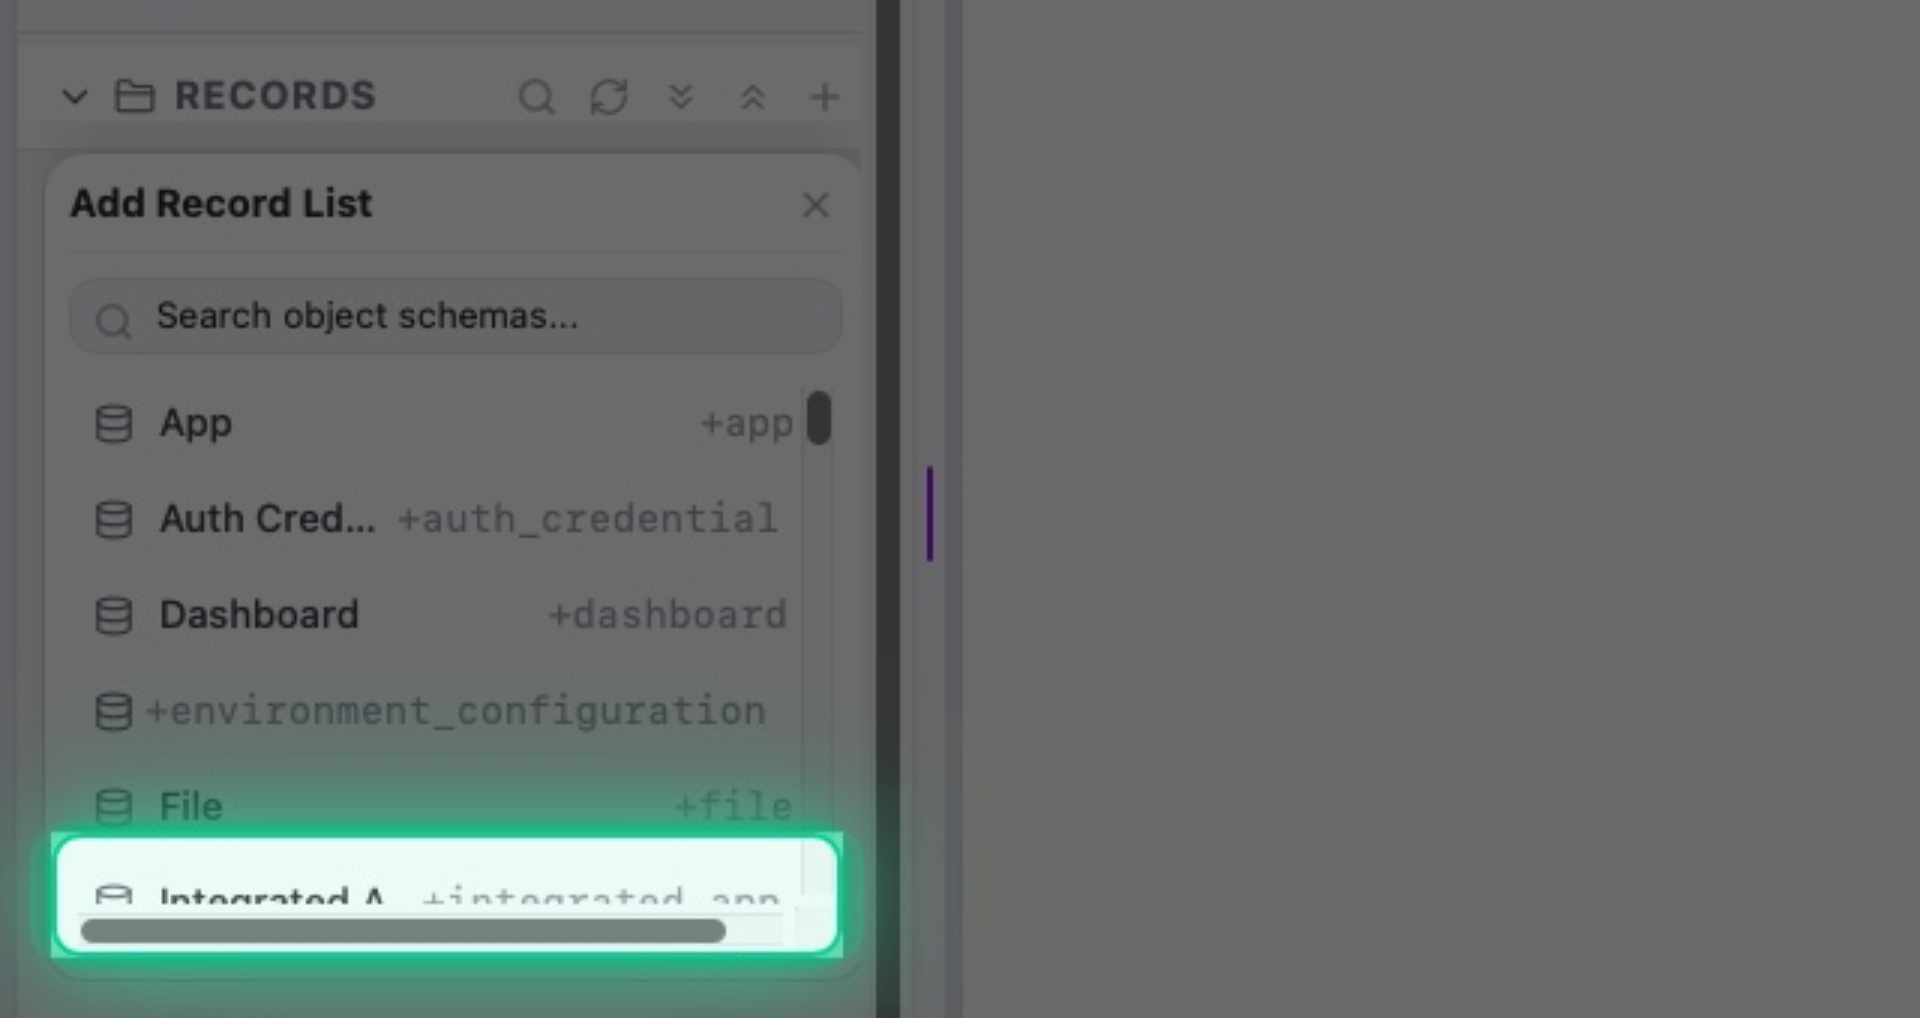
Interactive Target:
#left-nav-records-add-schema-2
5. View Ai Agent Records
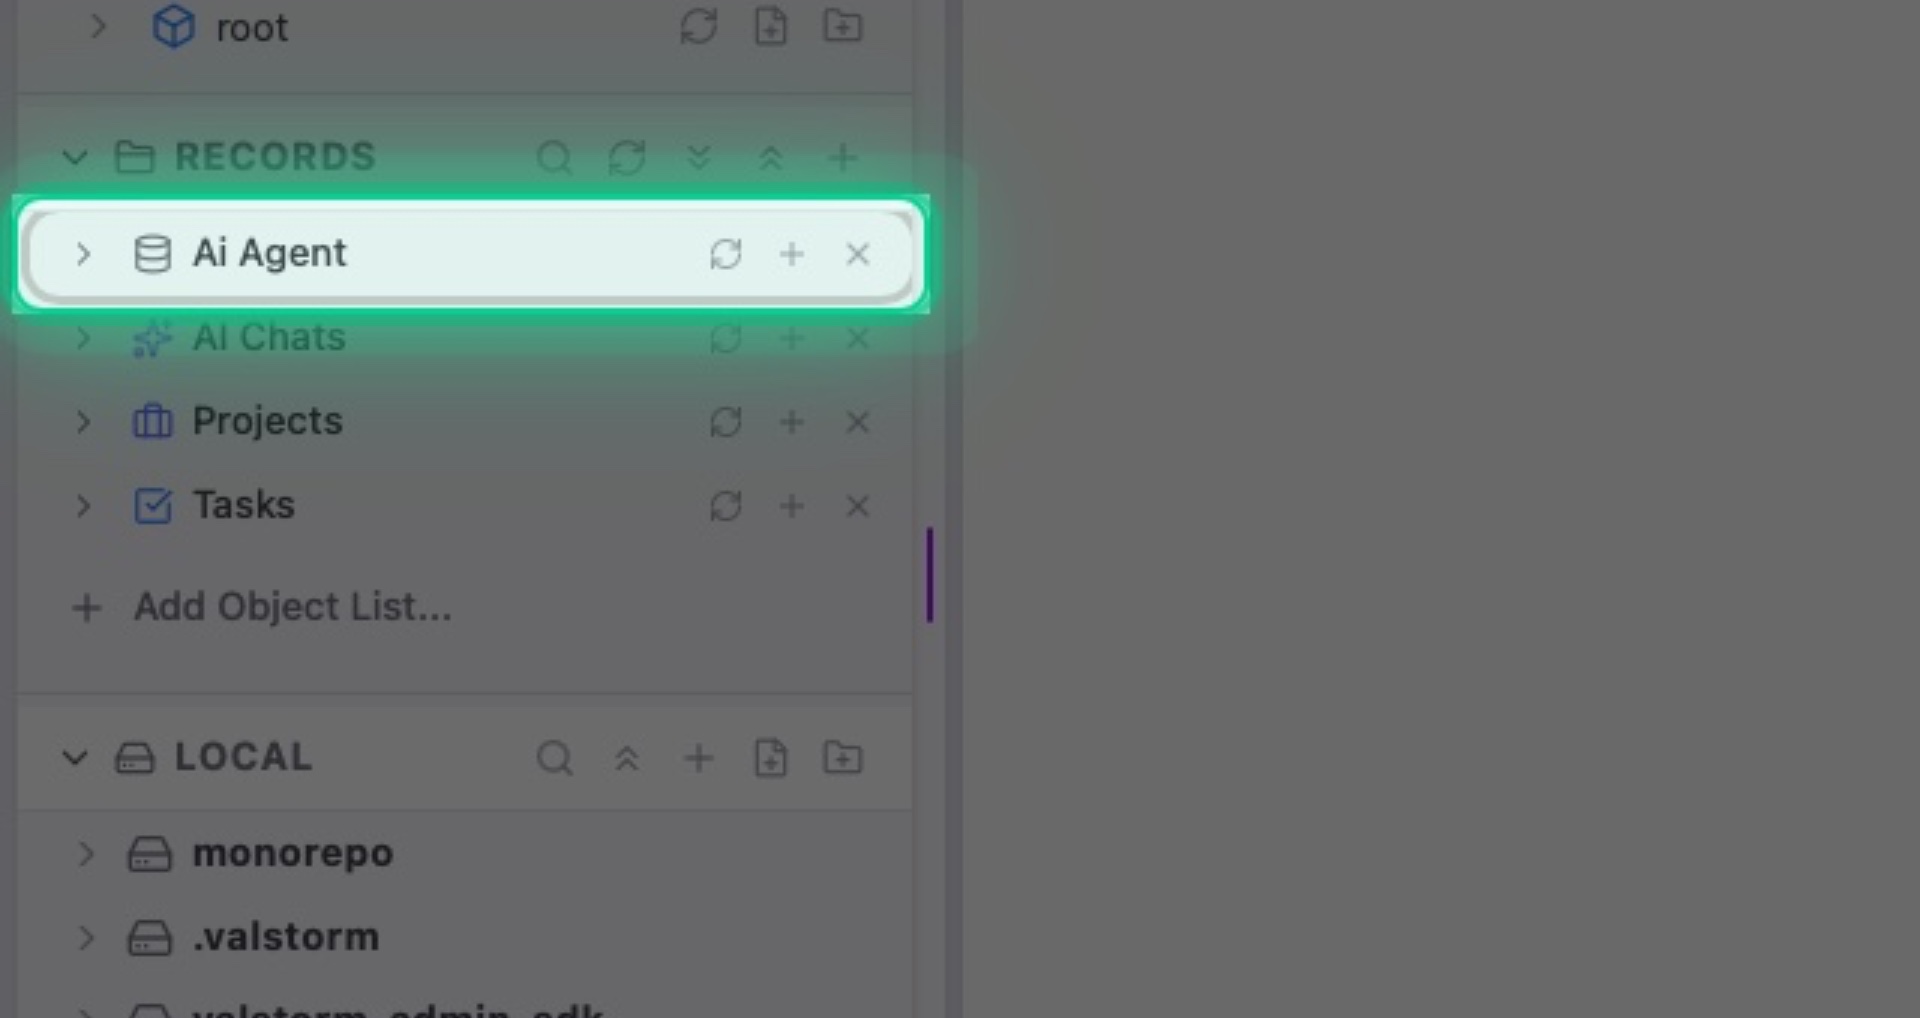
Interactive Target:
#row-record-tree-category-1
6. Switching Views
You can view data in different ways like simple lists, as a table (spreadsheet), on a kanban, calendar, or even the raw JSON.
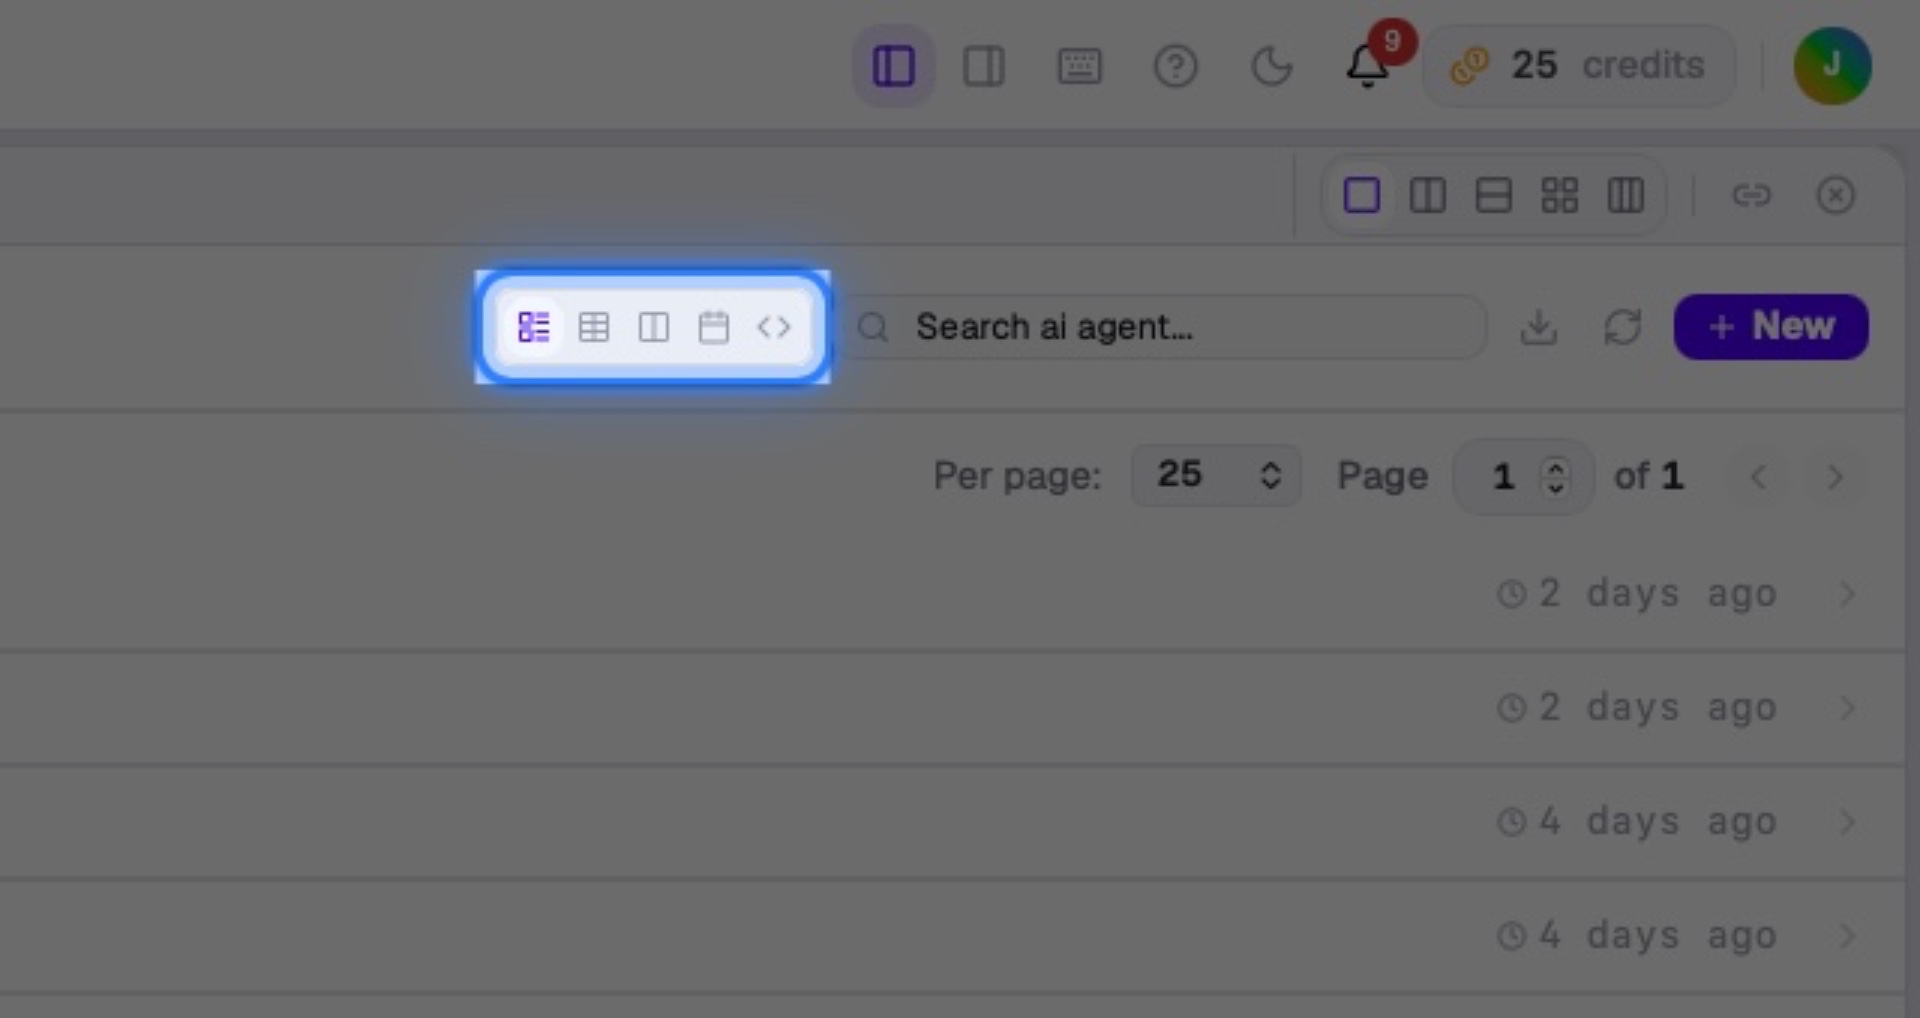
Interactive Target:
#workspace-pane-1-view-mode-switcher
7. Click Filters
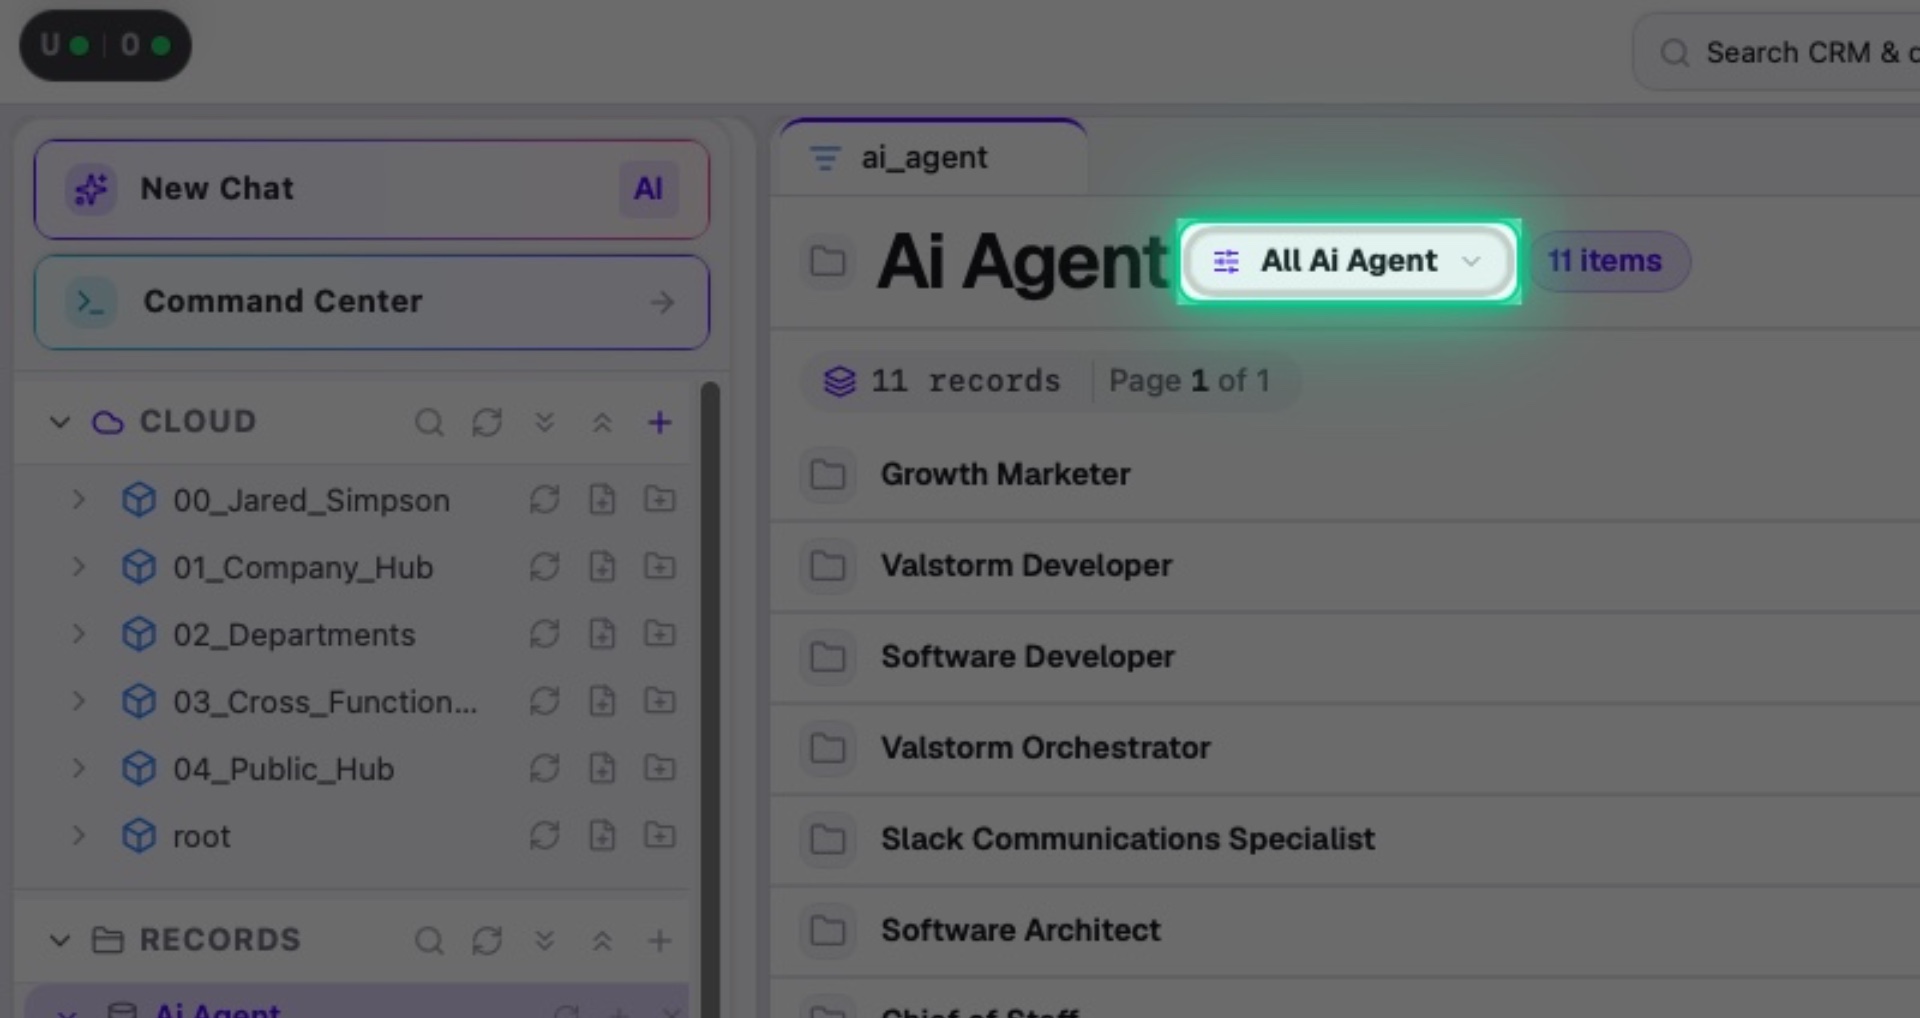
Interactive Target:
#workspace-pane-1-list-filter-trigger-btn
8. Filtering Your Data
Filters allow you to change what data you see.
Click "Next" to Proceed
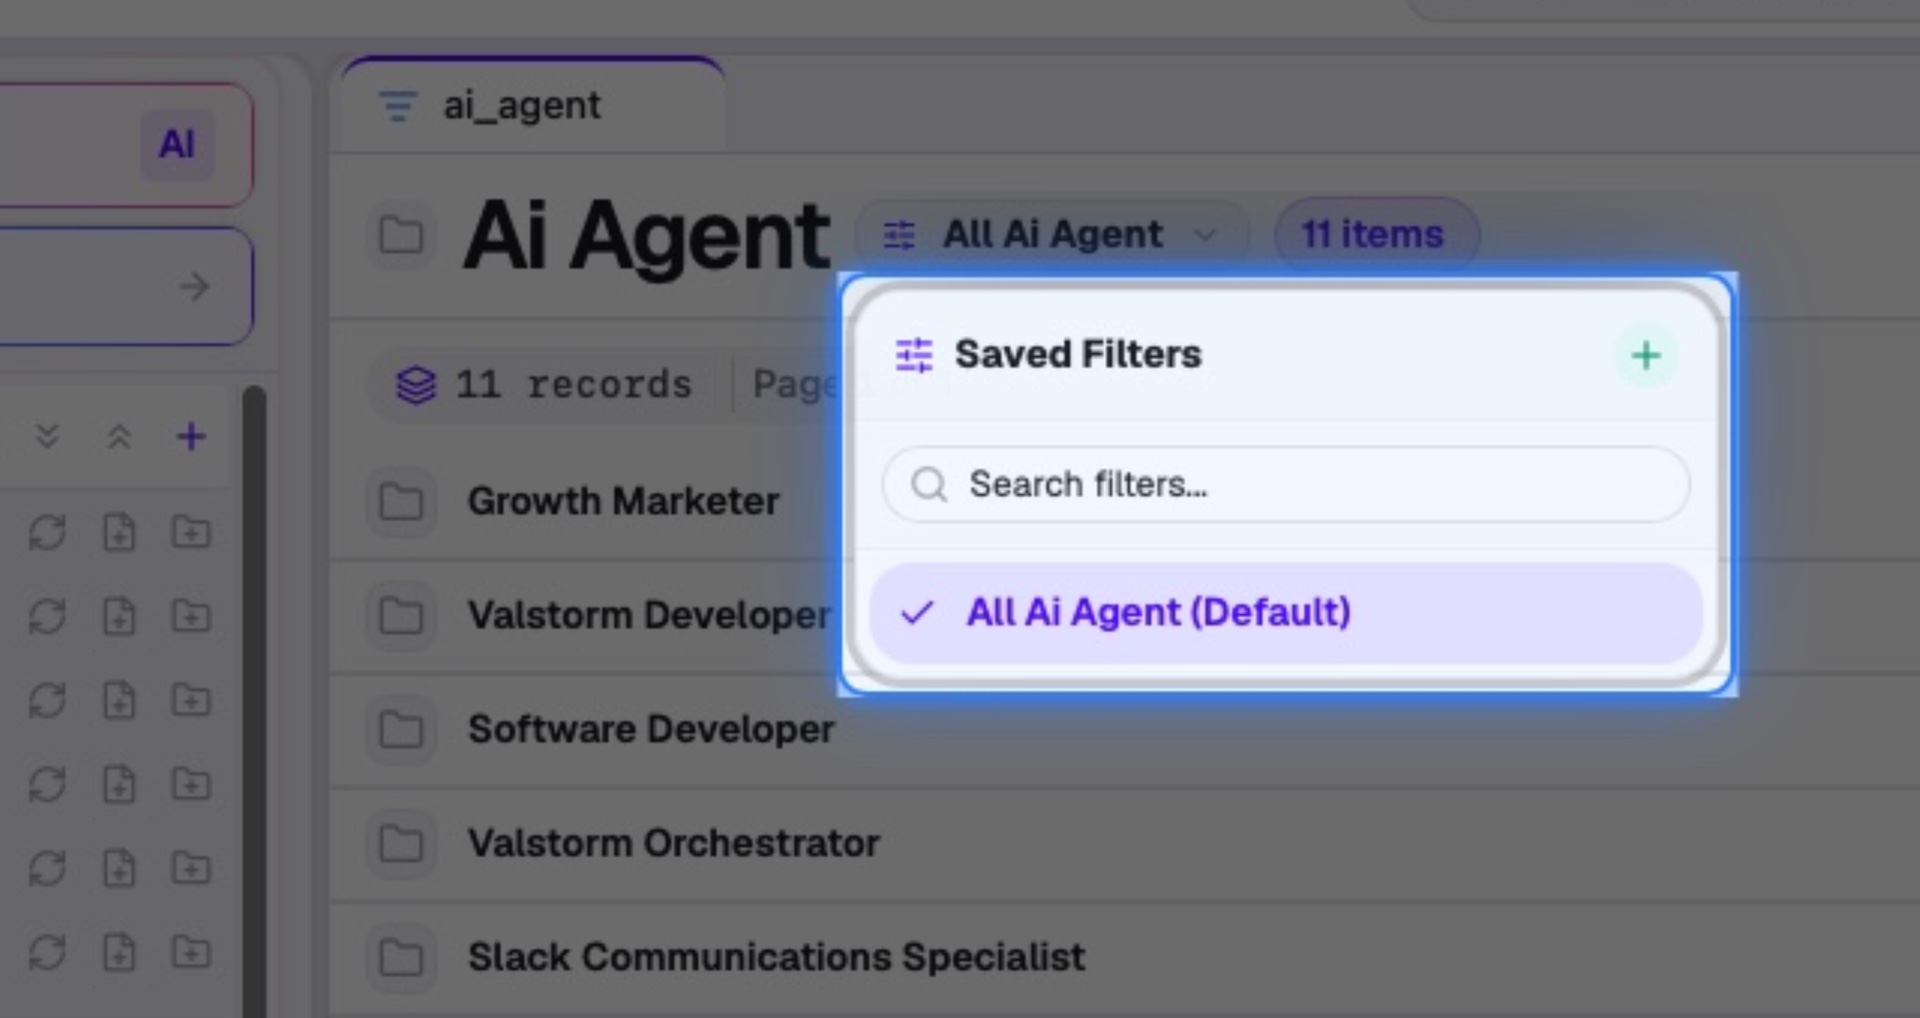
Interactive Target:
#workspace-pane-1-list-filter-popover
9. Click Create New List Filter
Click on Create New List Filter to proceed.
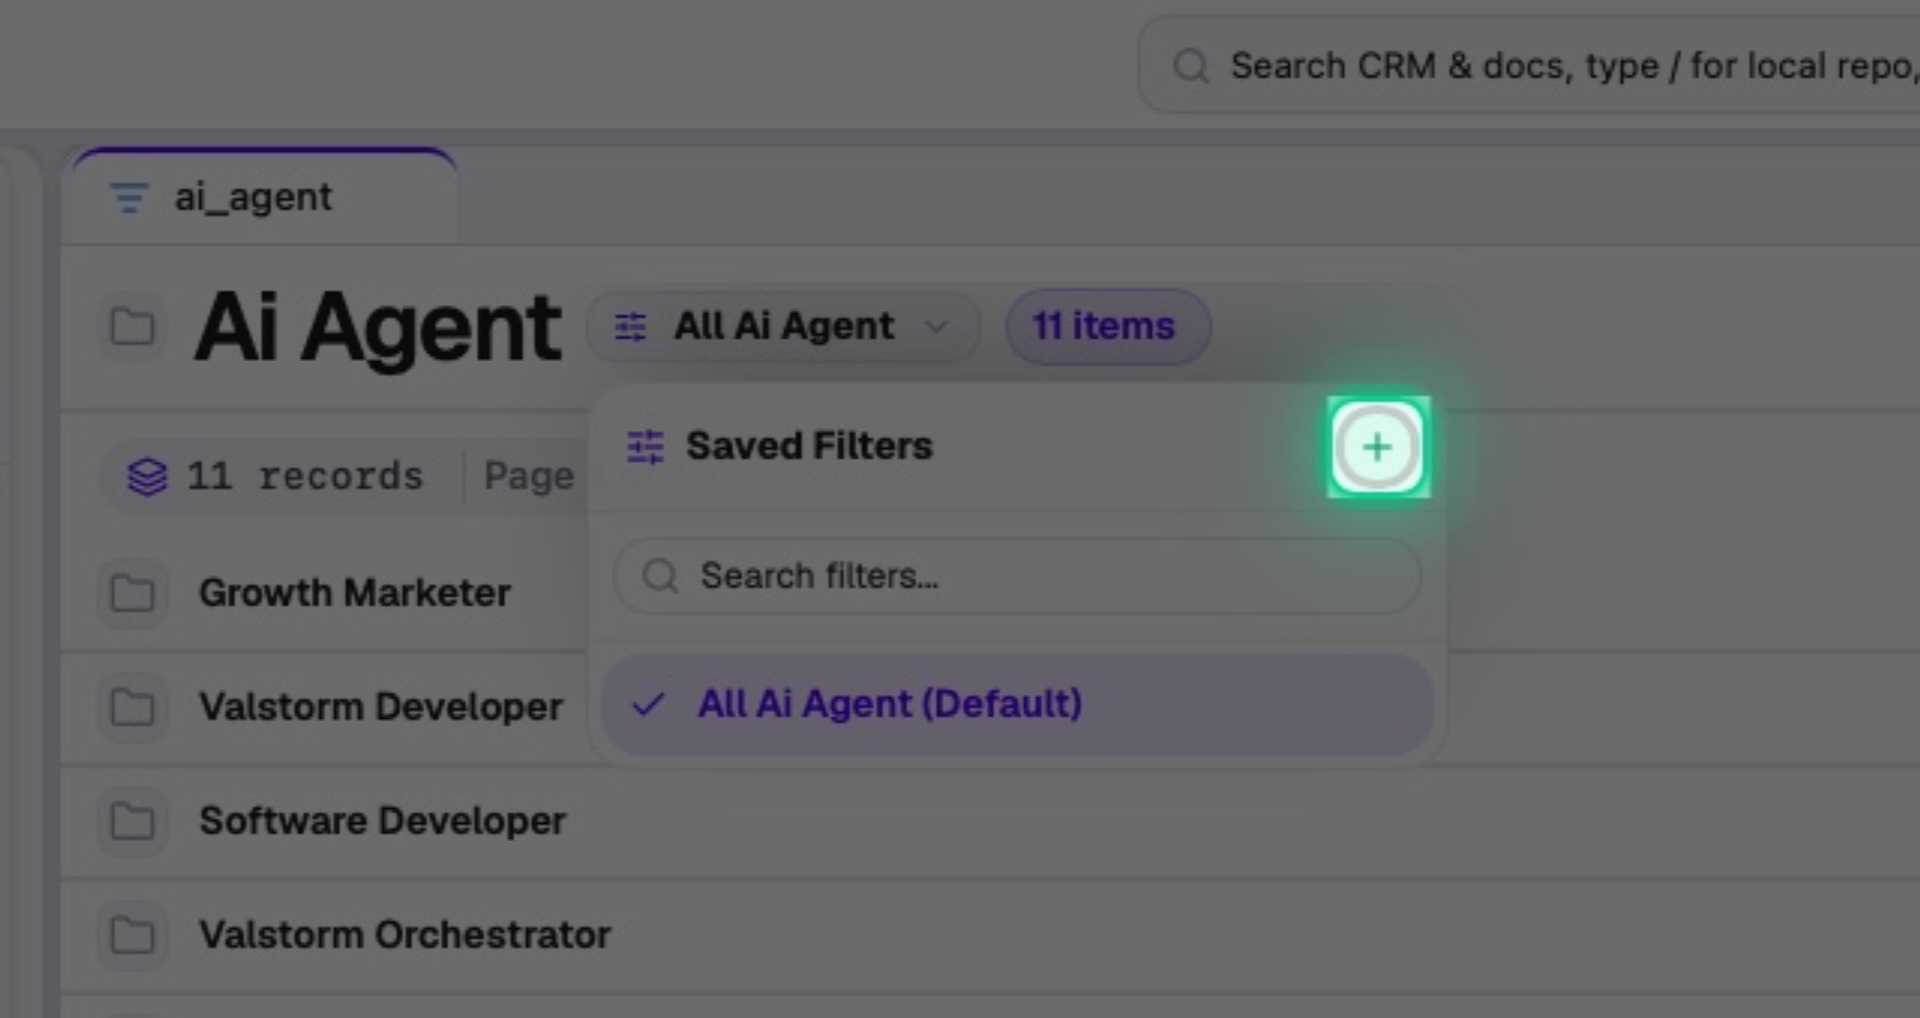
Interactive Target:
#workspace-pane-1-list-filter-add-button
10. Editting Filters
You can modify what data will be returned and much more.
The Chief of Staff can build these for you. For more details, check out the "Building Filters" guide.
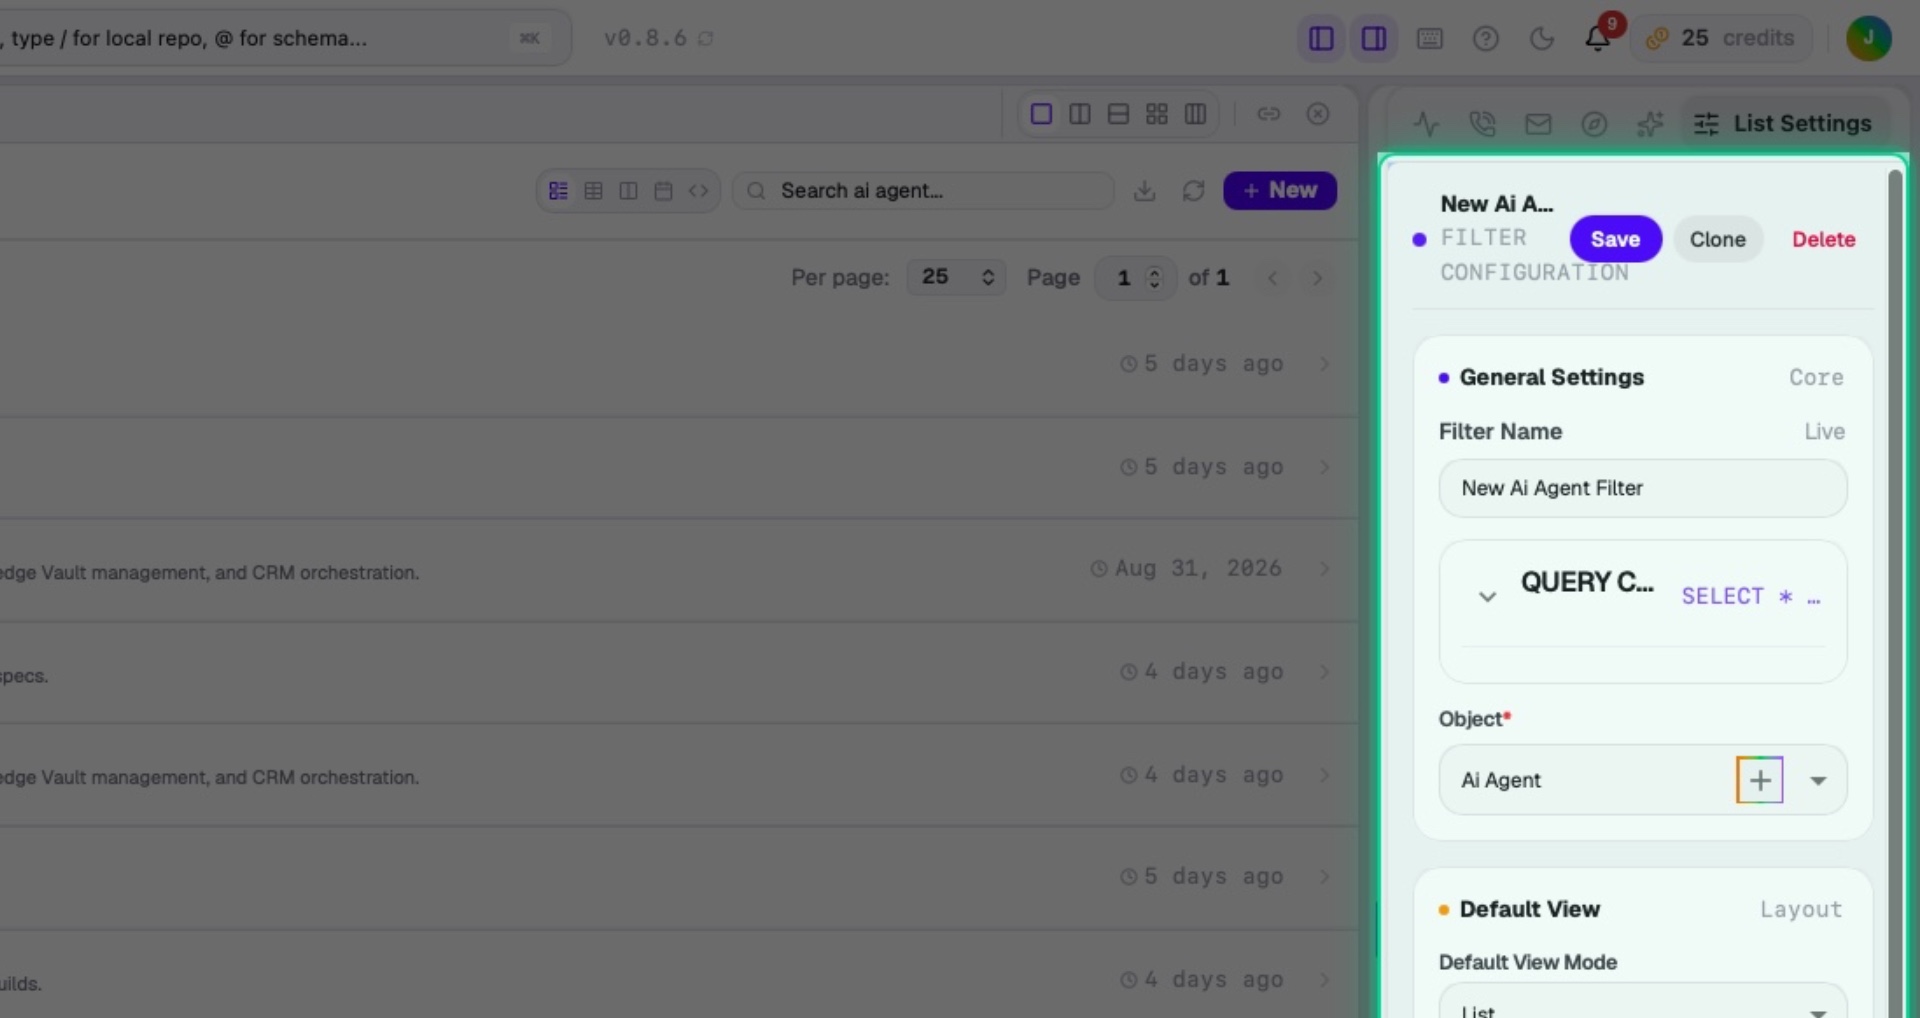
Interactive Target:
#right-utility-panel-list-view-settings-utility-container
🧭 Interactive Walkthrough: Click ▶ Launch Interactive Guide: Record List Management to start this hands-on tour directly in Valstorm.